Beginners Guide to Malwarebytes
Malwarebytes – The BEST malware removal tool and how to use it!
Malware infects almost every PC that browses the internet. Whether we know it or not. There are a number of different tools to clean it up. Some free and some cost money. As you know from reading previous posts on my blog I’m about bang for buck, and spending money wisely. I want you to do the same. I’ll share my tools with you, so you don’t have to experiment on various other tools or pay someone big bucks to do this sort of cleanup for you. You can do this yourself, and I’ll walk you through it!
Malwarebytes is one of the best-known malware removal tools out there. You can and should only download it from their website: www.malwarebytes.org. The last thing you want to do is install a fake copy of it and infect your PC even worse.
We’ll walk you through the entire process in four easy to follow sections:
1. Download the Program
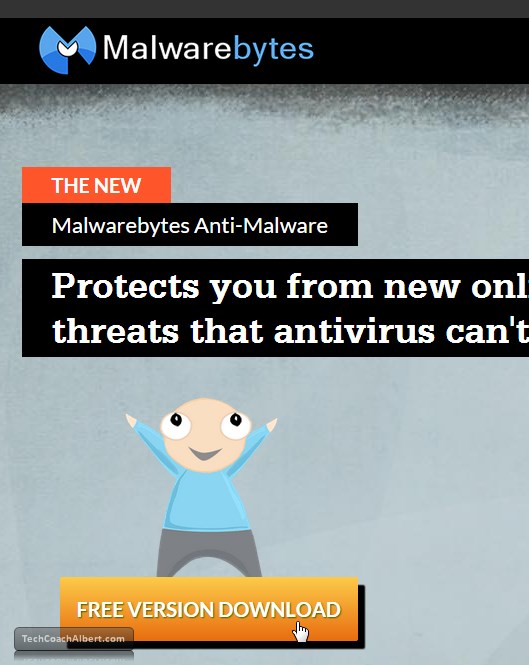
The first step in cleaning up your PC is to download and install the Malwarebytes program. Navigate to www.Malwarebytes.org, then follow these steps:
On their home page, select the Free Version Download button on the bottom left side of the page.
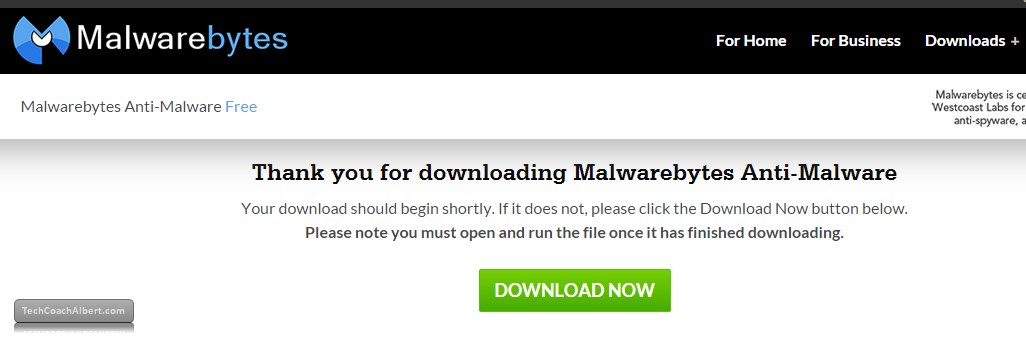
That should take you to the Downloads page. Typically your download will start within a few seconds, but if it does NOT, select the Download Now button on your screen.
The file will start downloading. I’m not including a picture of this part, as it will be different for each web browser (Internet Explorer, Firefox, Chrome, Opera, etc).
NOTE: This is an AWESOME software, and I HIGHLY recommend purchasing a copy of it to get the other benefits of it (Live 24/7 monitoring!). You can easily purchase it here:
2. Install the Program
Launch the setup file typically by double clicking on it, or if your browser prompted you. The first screen you’ll likely see is the Security Warning. Go ahead and click on the Run button.

Next, it will ask you to choose your language. Pick from the various options in the dropdown box and then select the OK button.

The first screen suggests we close all programs before we start the installation. This is important in case it tries to access some of the same files as another program. If another program has the files open, it may stop or throw an error during the installation. Once all other programs are closed, choose the Next button.

The next screen is the License Agreement page, please review and if you’d like to proceed, choose the I accept the agreement radio button on the left, then choose the Next button on the right.

The following screen shows us the recent changes in this version of the software. Go ahead and choose the Next button to continue.

The next screen will ask where you would like to install the program. Most of the time leaving it where it defaults to is sufficient. Press the Next button to continue with the installation process.

Then it will ask for a Folder Name to use for the Start Menu. Again, it’s probably good enough to leave alone and proceed by selecting Next.

Next, It will ask if you want to create an icon on your Desktop for quick access to launching the program. Generally this is fine, but you can use your own judgment. Press the Next button when you’re ready to move on.

Next, it will give you a summary of the choices you made. Review it and make sure it’s all ok (if not, use the Back button to go back to change it), if it is all OK, proceed by choosing the Install button.

Now you will see a progress bar indicating how far along in the installation process it is. Wait a minute or two and it should be complete.

Last, the final screen indicates the setup was successful and automatically suggests opening the program. Go ahead and click on Finish to complete the install and open the program.

3. Scan for issues
Now that you have the software installed, you can scan your PC to find and then fix the issues (and it’s a very high probability you have AT LEAST one!). The following section will guide you through scanning your PC for Malware.
To get started, click on the Scan option on the top menu bar, as shown below.

Next, we’ll need to choose what scan we want to do. I would suggest just running the Threat Scan, as it includes all the scanning features within it. Click on the Threat Scan option on the screen to start the scan.

The following screen is what it will look like during the scan. Be patient, as the scan can take anywhere from a few minutes to a good hour or more. All depending on the speed of your computer, how many files are on it and the amount of resources available.

Now, you’ll see one of the two following screens:
If you see the screen below, that means you’ve found at least one infected file. Note the red Detected Objects counter in the middle of the screen. We’ll discuss how to clean them up in section 4.

If you made it through the scan and nothing was found, you’ll end up seeing a screen similar to the one below. Good news! Your PC is clean! But, if you’re on the internet it wont stay clean forever. No need to check out step 4 at this point. but I would recommend running a scan weekly or monthly, depending on how much you’re on the internet.

4. Fix Malware Found
So you’ve scanned your PC and found some crap huh? Don’t worry, it happens to everyone. Fixing its pretty simple at this point. Below, you can see we’ve also found some crap on our PC. We’ll show you how to get rid of it.
If you’ve got malware, you’ll likely see the screen below during your scan. Detected objects will increase as files are found. Don’t stress out if it gets pretty high. It’ll clean em up!
Once the scan is finished, you’ll see this screen below. It will list all the files/infections found. Notice in this case we found 1 instance of malware, but you may have more. To fix, simply locate the Quarantine All box on the lower left corner. Clicking that box will fix all the files and move them to a secure vault. Just in case one of them WAS important, you can recover them one by one.

After you hit the Quarantine All button and it fixes the infected files you’ll get some sort of Completed message. In this case, our PC needs to be restarted before it is finished cleaning them. Which that is perfectly fine. Just save any work you were doing, close out of everything else and hit the Yes button to restart your PC and let Malwarebytes finish the work.

Now your PC is clean. But, it won’t be clean forever. Make sure you routinely check your PC for malware infections. This is not an automated process (unless you bought the software instead of just using the free version). I would suggest running the scan once a month for light/medium users. And once a week for heavy internet users.
Interested in purchasing Malwarebytes? I highly recommend so! Click my affiliate link below to
purchase, some of the proceeds are given back to me to help run this website!